

Recently, I’ve noticed many projects incorporating Android-Arduino communication. One of the easiest (and cheapest) ways of achieving this is to use a HC-05/06 Bluetooth module. You can pick one up from amazon.ca for ~$15.
For this project, i used a Galaxy S3 to independently control 4 LED’s. You will need to download the app ‘Arduino Bluetooth Terminal’, which is available for free on the Play Store.
To hookup the bluetooth module, connect the 5v and GND to their corresponding arduino headers of the same name. For the TX/RX pins, use digital pins 10(TX) and 11(RX)

You’re indicator led on the HC-05/06 should now start blinking.
To pair your android to the module, use the passcode “1234”. Try “0000” if that does not work. Once paired, the indicator led should now be constant ON.
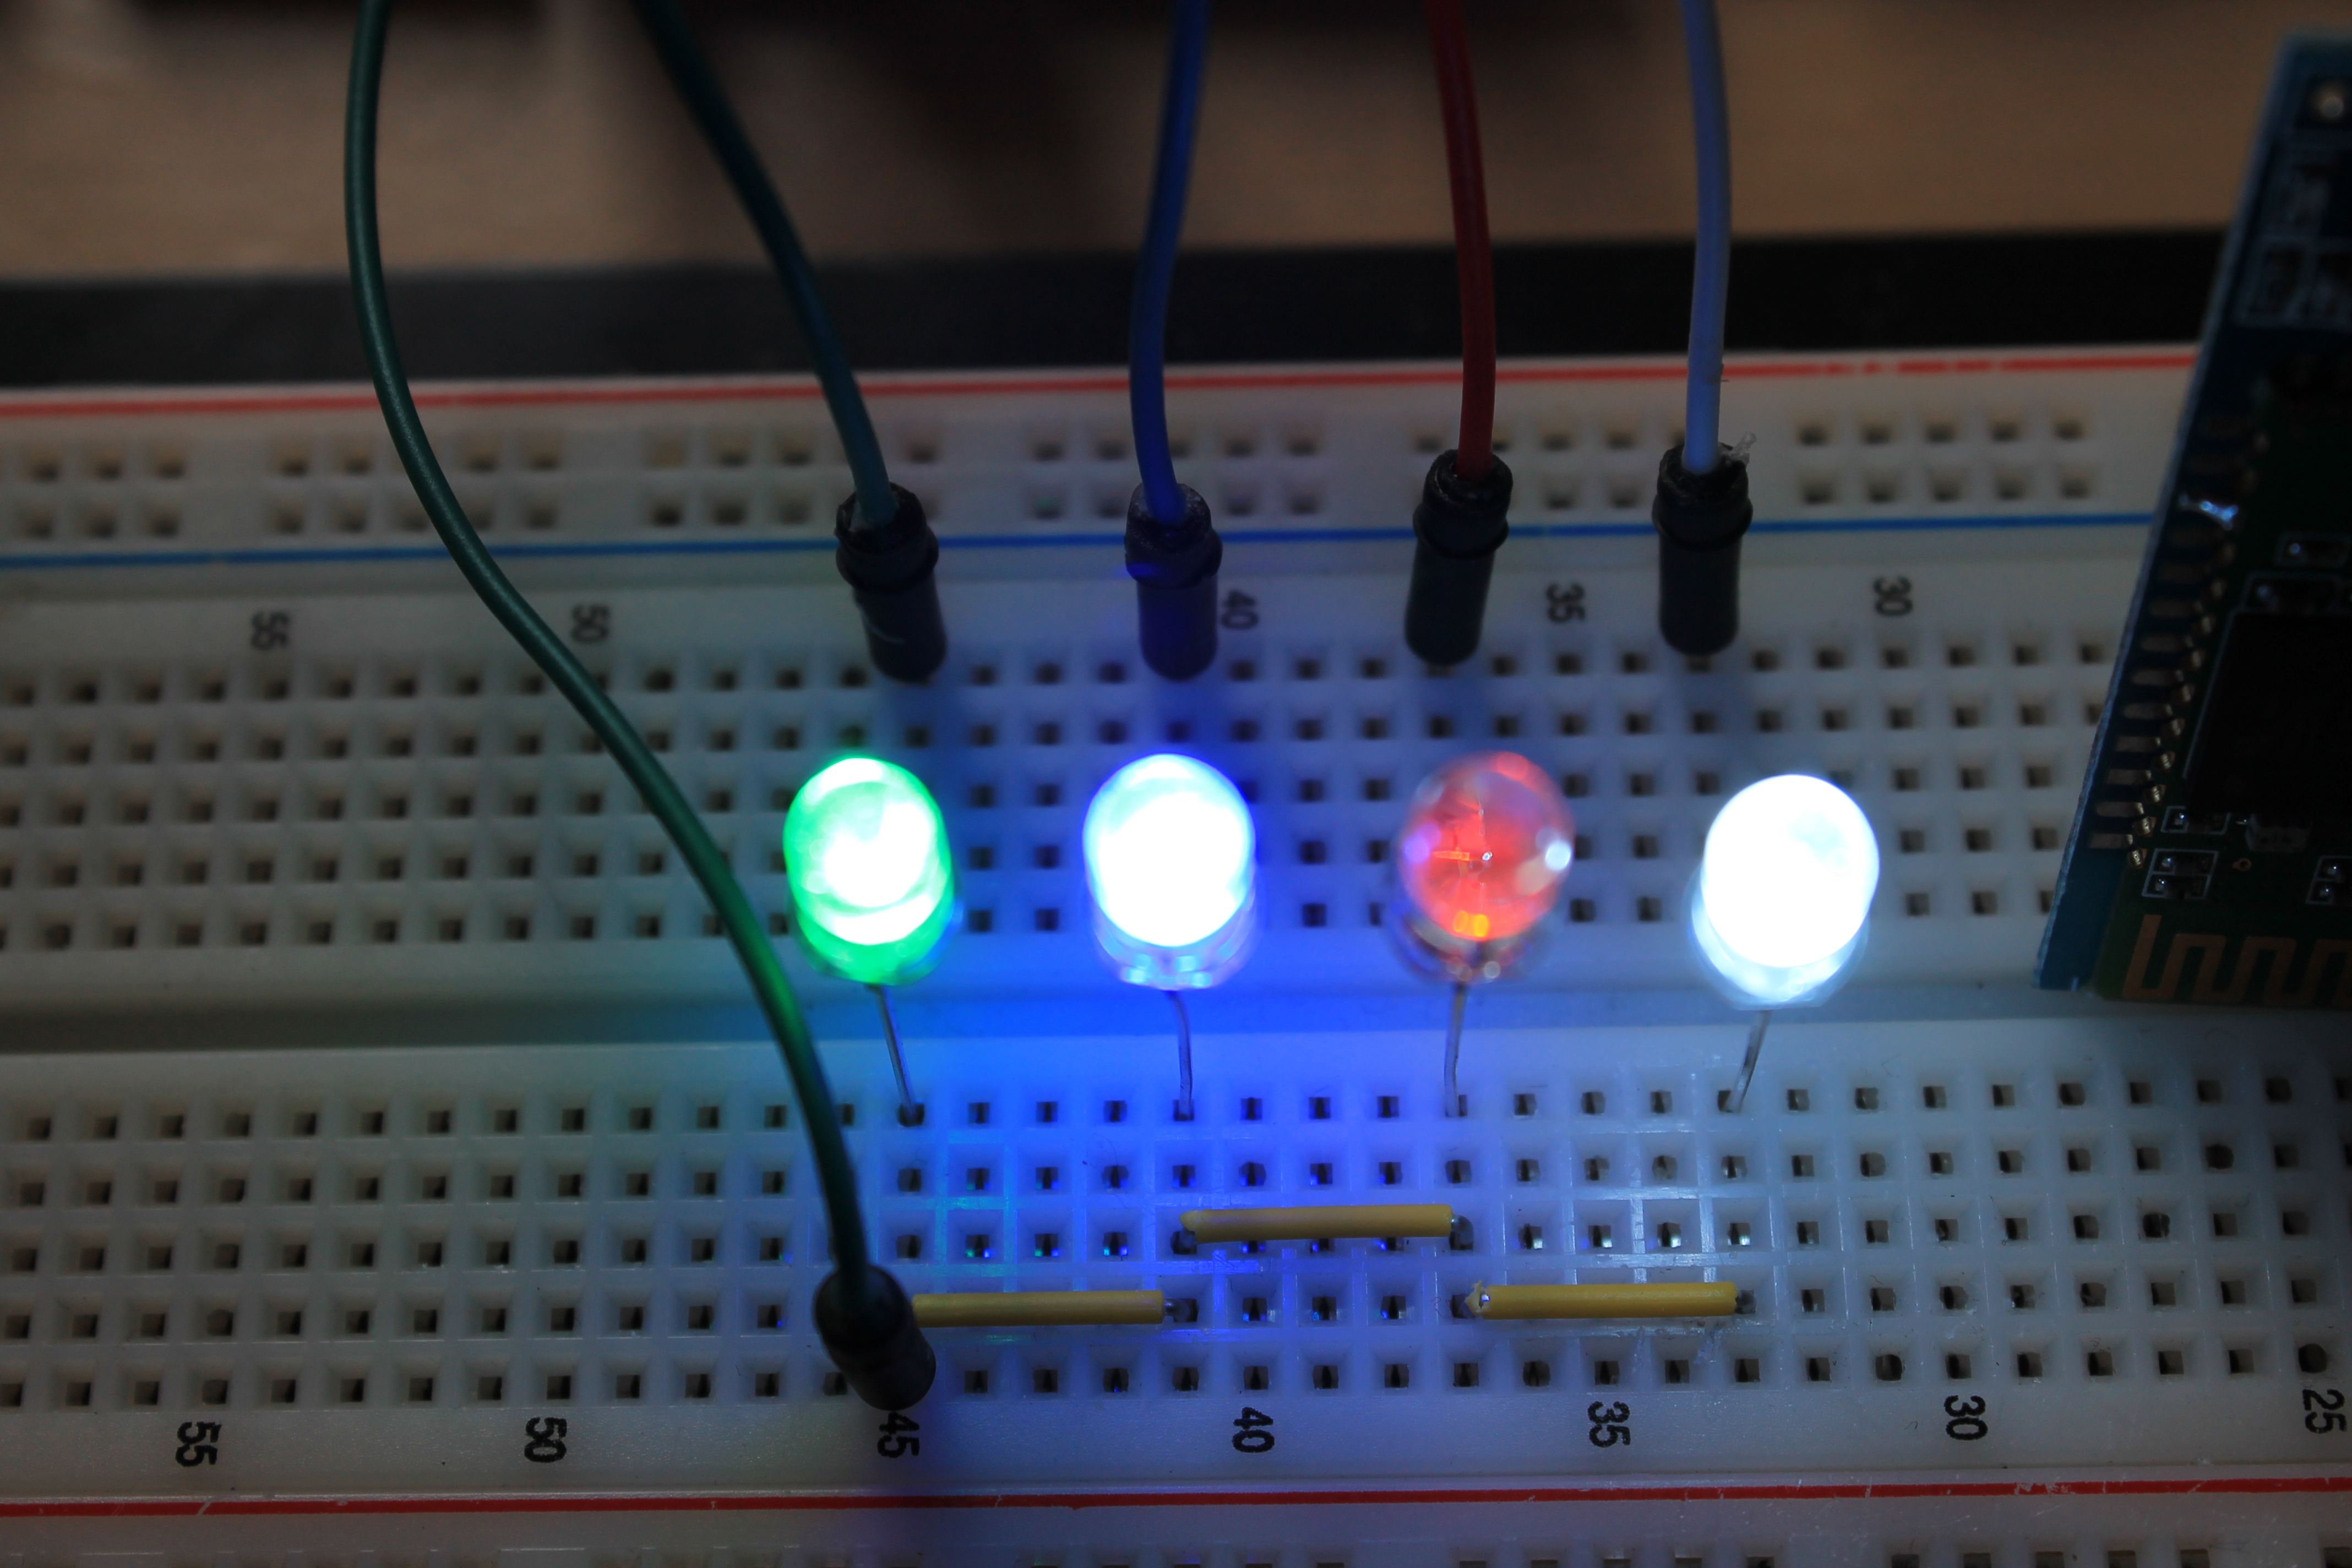
To set-up the simple LED cct, please refer to the the picture below. Note the GREEN, BLUE, RED, and WHITE led’s are powered by digital pins 4, 5, 6, and 7, respectively.
Almost finished!
Upload this sketch to your board:
#include <SoftwareSerial.h>;

SoftwareSerial bluetooth(10, 11); // RX, TX
int ledGRN = 4;
int ledBLU = 5;
int ledRED = 6;
int ledWHI = 7;
int BluetoothData;

void setup()
{
 bluetooth.begin(9600);
 pinMode(ledGRN,OUTPUT);
 pinMode(ledBLU,OUTPUT);
 pinMode(ledRED,OUTPUT);
 pinMode(ledWHI,OUTPUT);
}

void loop()
{
 if (bluetooth.available())
 {
 BluetoothData=bluetooth.read();

 if(BluetoothData=='1')
 {
 digitalWrite(ledGRN,1);
 bluetooth.println("GREEN ON");
 }

 if(BluetoothData=='2')
 {
 digitalWrite(ledBLU,1);
 bluetooth.println("BLUE ON");
 }

 if(BluetoothData=='3')
 {
 digitalWrite(ledRED,1);
 bluetooth.println("RED ON");
 }

 if(BluetoothData=='4')
 {
 digitalWrite(ledWHI,1);
 bluetooth.println("WHITE ON");
 }

 if (BluetoothData=='0')
 {
 digitalWrite(ledGRN,0);
 digitalWrite(ledBLU,0);
 digitalWrite(ledRED,0);
 digitalWrite(ledWHI,0);
 bluetooth.println("LED'S OFF");
 }

 }
 delay(100);
}
Now you should be able to turn on the 4 LED’S by entering the numbers ‘1 2 3 4’, and turn them off by pressing ‘0’.

Think of all the possibilities that are now open to you! For example, you could control any 120V cct. by simply adding a relay, instead of powering a led. Remember, creativity is limitless!
Leave your questions & comments below.

Very nice work. I wish I could not find your work earlier. I used tblue and did some work. http://arduexp.weebly.com/.
LikeLiked by 1 person
Thank you. Tblue is a little more advanced than this, props!
LikeLike
Pingback: DIY Home Automation with Android | King's Tech Garage
What is the purpose of the key pin in HC-05 ?
LikeLike
Nice! What libraries did you use to write the android app? Namely, the library to communicate with Bluetooth.
LikeLike
I did not write the android app. That’s something I have yet to tackle 😉
LikeLike
Hi there, This is a nice project..
may i have the code for the android side so that i can tweak with that…
Thank u ….
LikeLike
Unfortunately I don’t have the source code for the Arduino Bluetooth Terminal… You’d have to ask the devs
LikeLike
Hi friend, don’t forget to add one resistor with LED, for limiting the current.
LikeLike
Thanks!
LikeLike
y i run the source code there is an error?
can u give me the solution
LikeLike
Try replacing the ” with ‘
LikeLike
thank you dude, I got it!!
LikeLike
No problem! Glad I could help 🙂
LikeLike
i find stray error when i upload program to arduino..
pls give me solution for this problem
LikeLike
Hi, it may be due to the fact that WordPress autocorrects the ‘ to “. I’ll have to rewrite most of these tutorials, as I just found this out. Sorry for the confusion!
LikeLike
Can the same code be used to design an android app that turns off the charger when the battery is 100%
LikeLike
Assuming you know how to write Android apps, then yes!
LikeLike
Hello Dolphy, I like your post, but I am confused I just bought a generic BT dongle based on HC-05, mine is quite similar to the one on your pics, even it uses only 4 pins, but I could not establish communication with the Arduino, the dongle just don’t stop blinking, I am sending the AT commands and nothing, I heard that some of this products might not work at all, have you faced something similar ? If so how did you fixed ?
LikeLike
I actually had the same problem. I’m pretty sure the BT dongle was fried, possibly because I hooked it up to a 5v cct when I first got it. Turns out it was a 3.3V version
LikeLike
Pingback: Manual control of an Arduino based robot using Android | King's Tech Garage
Pingback: DIY Home Automation with Android | King's Tech Garage